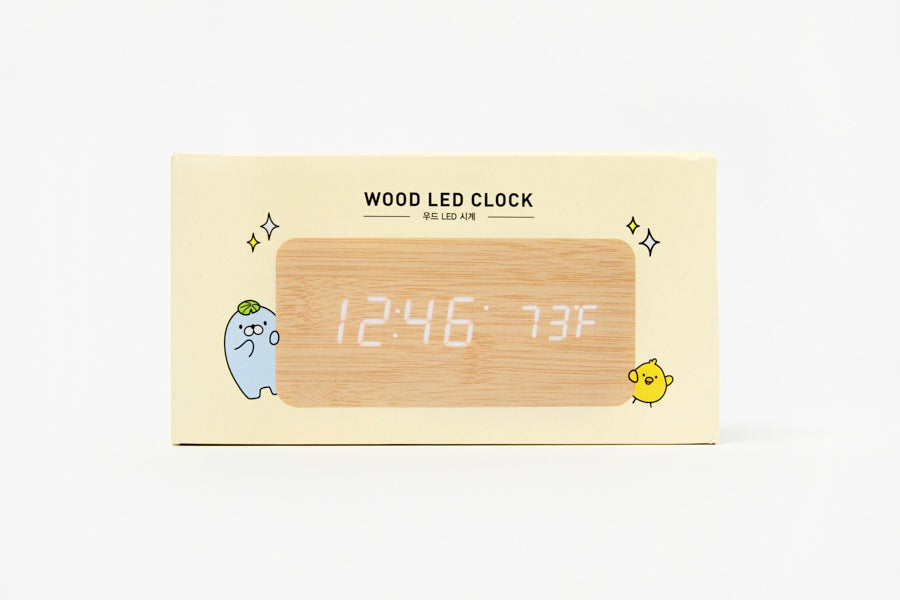
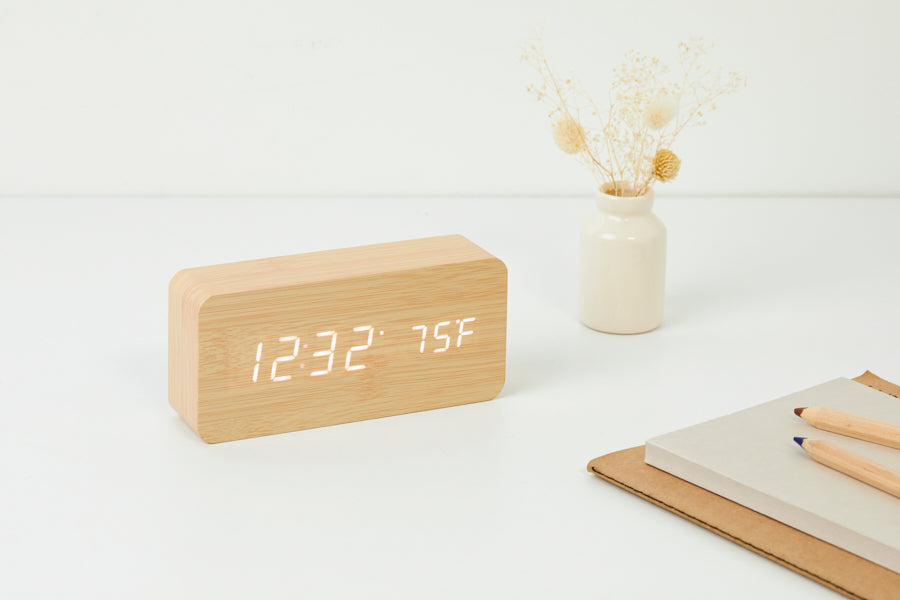
Digital Bamboo Wooden Desk Clock (Large)
Earn [points_amount] when you buy this item.
Digital Bamboo Wooden Desk Clock (Large)
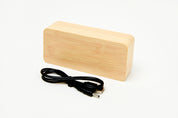
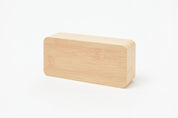
I'd like to introduce a simple and modern wooden clock!
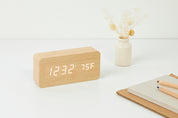
In a calm wood colour, the white light shines softly and tells you the time!
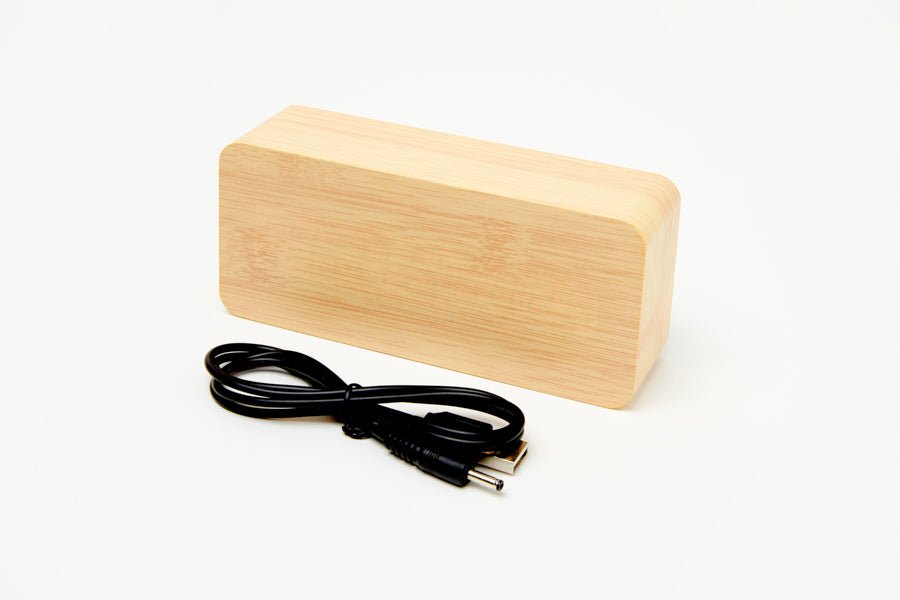
It can be used by connecting the included USB, it works with a battery, so it will be convenient to use~
Details:
- Materials: MDF
- Size: 150 x 폭45 x 높이70(mm)
-
Operating specifications: USB and SD modes recommended
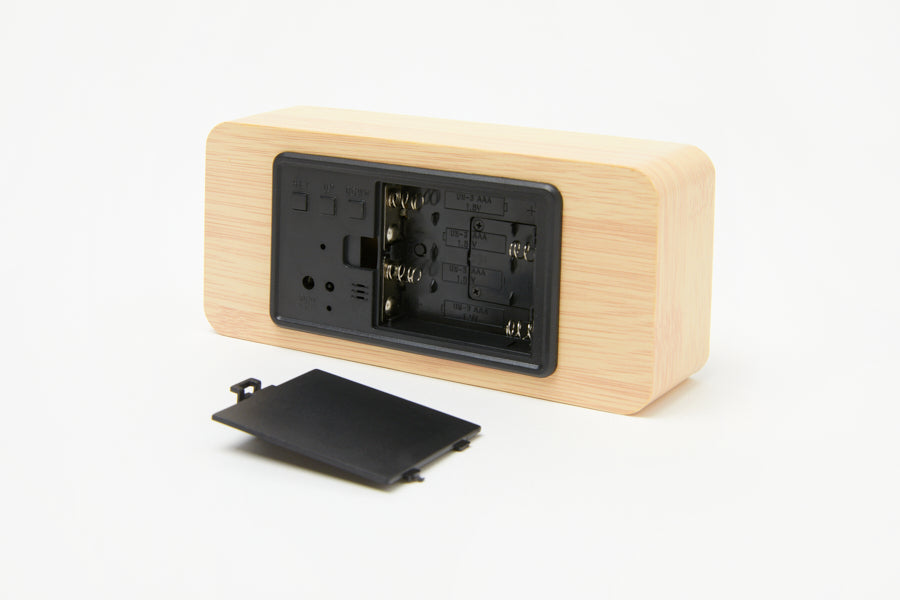
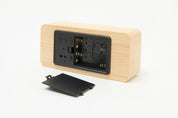
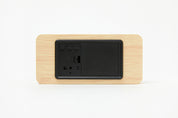
- Operate with 4x AAA battery (not included)
- DC5V USB included
Precautions:
- Keep away from fire
- Caution of damage caused by strong impact.
How to set up:
For a Video Set-Up Walkthrough, please click here
The clock in the video is different than the product displayed; however, the instructions to set up the clock are the same, if not, similar
Brightness Setting:
-
In normal mode, press and hold the [UP] button for 3 seconds to select from 'L1' to 'L3.'
-
Use the [UP] or [DOWN] buttons to choose the desired level, then do not press any button for 3 seconds to complete the setting.
SD Mode Settings:
-
When using SD mode, the LED screen will automatically turn off after 10 seconds. When the screen is off, touching the device or making a clapping sound will turn the screen back on for another 10 seconds.
-
SD mode is ideal for conserving power or blocking light during sleep.
-
In normal mode, press the [DOWN] button to display 'oN:Sd.' Press the [DOWN] button again to activate SD mode. While SD mode is active, pressing the [DOWN] button in normal mode will display '--:Sd,' and SD mode will be deactivated.
Reset:
-
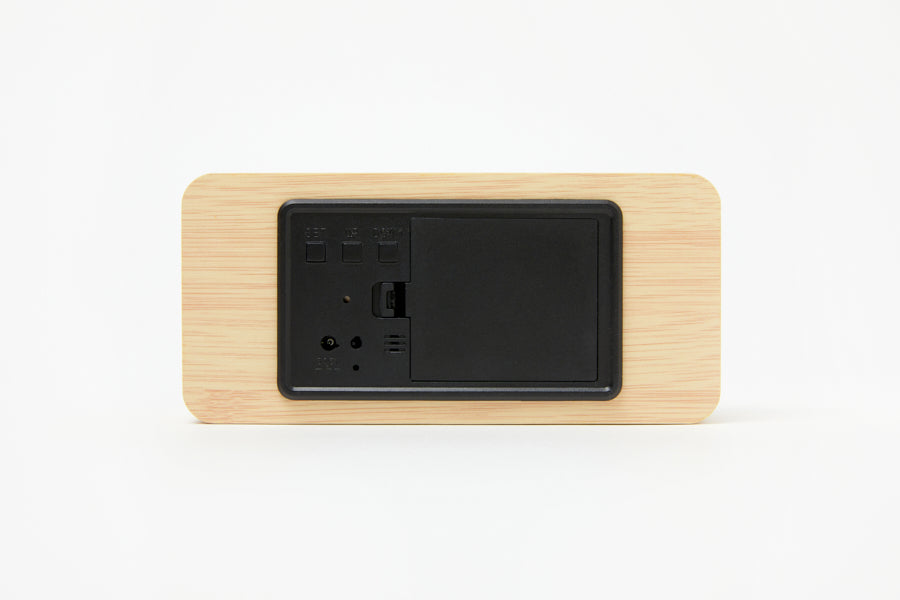
Open the battery compartment and press the RESET button located in the center-left area to reset all settings.
Temperature Display Settings:
-
The device automatically measures and displays the surrounding temperature.
-
In normal mode, press the [UP] button to select Celsius (.C) or Fahrenheit (.F). If no button is pressed for 3 seconds, the setting will be saved.
Backup Function:
-
A built-in backup battery ensures that the time settings are saved even if the power source is removed.
-
If the backup function does not work, please replace the backup battery.
Caution:
-
This product is a wooden clock, and exposure to high temperatures and humidity may cause malfunction.
-
Do not place it near fire or heat sources.
-
Do not disassemble or reassemble the product on your own.
Quick Setup Tips!
Power:
-
Operates via USB cable (included) or 4 AAA batteries (not included).
-
Using batteries drains power quickly, so USB cable operation is recommended.
Date/Time/Alarm Setup:
-
Press and hold the [SET] button to sequentially set the date, 12/24-hour display mode, time, and alarms (A1~A3).
-
Use the [UP] and [DOWN] buttons to select the desired setting value, and press the [SET] button to proceed to the next step or complete the setup.
Turning Off the Alarm:
-
When the alarm sounds, press any button to stop it. The alarm will automatically activate again at the same time the next day.
Detailed Functions!
Date, Time, Alarm Setup:
-
In normal mode, press and hold the [SET] button for 3 seconds until you hear a "beep" sound and the screen starts flashing, indicating the setup mode.
-
The setup sequence is: Year > Month > Day > 12/24-hour display format > Hour > Minute > Alarm ON/OFF (3 alarms) > Alarm sound time > Alarm minute > Weekend alarm cancellation (E).
-
Use the [UP] and [DOWN] buttons to adjust each setting, then press the [SET] button to move to the next step. After selecting the weekend alarm cancellation mode, press the [SET] button again, and the display will return to normal mode (clock), completing the setup.
-
You can set a total of 3 alarms, which initially display as '--:A1', '--:A2', and '--:A3.' Press the [UP] or [DOWN] buttons to change to 'oN:A1~3' to activate the alarms.
-
Once all three alarms are set, '--:E' will appear. Press the [UP] or [DOWN] buttons to change it to 'oN:E,' and the alarms will automatically be turned off on weekends.
Alarm ON/OFF:
-
When the alarm sounds, press any button to stop it. The alarm will automatically sound at the same time the next day.
-
To delete an alarm, go to the date/time/alarm setup step and change 'oN:A13' to '--:A13' to deactivate the alarms.
Display Mode Settings:
-
In normal mode, press the [SET] button to display 'dp-2' on the screen. Press the [SET] button again to apply the selected display mode. When in 'dp-2' mode, press the [SET] button again to switch to 'dp-1'.
dp-1: Displays time/temperature (10 seconds) > Date (5 seconds).
dp-2: Continuously displays time/temperature only.

Best Sellers
Browse in-demand beauty products


